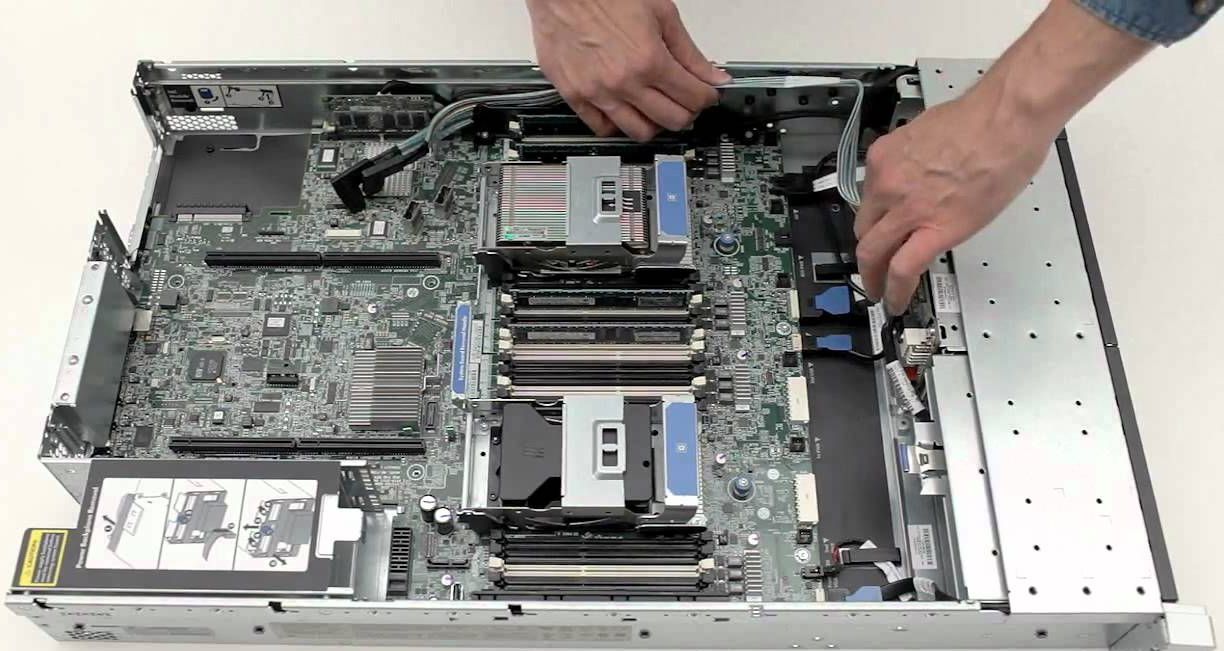
Ca sa intelegeti despre ce este vorba o sa va spun mai intai ca LAMP este o prescurtare pentru Linux, Apache, MySQL, PHP, iar in acest tutorial o sa va explic cum sa instalati un webserver Apache2 cu suport MySQL si PHP5 pe un server ce are instalat sistemul de operare CentOS 5.6. O sa folosesc ca hostname server.exemplu.ro cu adresa 192.168.0.100, aceste exemple vor fii schimbate de dumneavoastra cu cele de care aveti nevoie.
A. Instalarea MySQL:
Ca sa instalam Mysql folosim comanda:
<?php phpinfo(); ?>
yum install mysql mysql-server
Apoi creem linkurile de startup ale sistemului pentru serverul MySQL ( ca MySQL sa porneasca automat de cate ori serverul buteaza) si pornim serverul MySQL.
chkconfig --levels 235 mysqld on
/etc/init.d/mysqld start
Setam parola pentru root user MySQL
mysql_secure_installation
[root@server1 ~]# mysql_secure_installation
NOTE: RUNNING ALL PARTS OF THIS SCRIPT IS RECOMMENDED FOR ALL MySQL
SERVERS IN PRODUCTION USE! PLEASE READ EACH STEP CAREFULLY!
In order to log into MySQL to secure it, we’ll need the current
password for the root user. If you’ve just installed MySQL, and
you haven’t set the root password yet, the password will be blank,
so you should just press enter here.
Enter current password for root (enter for none):
OK, successfully used password, moving on…
Setting the root password ensures that nobody can log into the MySQL
root user without the proper authorisation.
Set root password? [Y/n] <– ENTER
New password: <– yourrootsqlpassword
Re-enter new password: <– yourrootsqlpassword
Password updated successfully!
Reloading privilege tables..
… Success!
By default, a MySQL installation has an anonymous user, allowing anyone
to log into MySQL without having to have a user account created for
them. This is intended only for testing, and to make the installation
go a bit smoother. You should remove them before moving into a
production environment.
Remove anonymous users? [Y/n] <– ENTER
… Success!
Normally, root should only be allowed to connect from ‘localhost’. This
ensures that someone cannot guess at the root password from the network.
Disallow root login remotely? [Y/n] <– ENTER
… Success!
By default, MySQL comes with a database named ‘test’ that anyone can
access. This is also intended only for testing, and should be removed
before moving into a production environment.
Remove test database and access to it? [Y/n] <– ENTER
– Dropping test database…
… Success!
– Removing privileges on test database…
… Success!
Reloading the privilege tables will ensure that all changes made so far
will take effect immediately.
Reload privilege tables now? [Y/n] <– ENTER
… Success!
Cleaning up…
All done! If you’ve completed all of the above steps, your MySQL
installation should now be secure.
Thanks for using MySQL!
[root@server1 ~]#
B. Instalarea Apache2:
Apache2 se gaseste in lista pachetelor CentOS si poate fii instalat folosind urmatoarele comenzi:
yum install httpd
Acum configurati serverul Apache sa porneasca odata cu sistemul:
chkconfig --levels 235 httpd on
…si porniti Apache
/etc/init.d/httpd start
Acum accesati in browser adresa http://192.168.0.100 si veti gasi pagina de pornire Apache
Locatia root a serverului Apache este /var/www/html in CentOS, iar fisierul pentru configurare este /etc/httpd/conf/httpd.conf. Configuratiile aditionale sunt stocate in directorul/etc/httpd/conf.d/.
C. Instalarea PHP5:
Putem instala modulele PHP5 sau Apache PHP5 dupa cum urmeaza:
yum install php
Dupa aceasta serverul Apache-ul trebuie restartat
/etc/init.d/httpd restart
D. Testarea PHP5 si detalii despre instalare
Documentul root al web site-ului este /var/www/html. Acum o sa cream un mic fisier PHP in acest document (info.php) si o sa il accesam dintr-un browser. Acest fisier ne da multe detalii despre php-ul instalat, detalii cum ar fii versiunea de PHP instalata.
vi /var/www/html/info.php
Continutul fisierului:
<?php phpinfo(); ?>
Acum putem accesa aceasta pagina intr-un browser (exemplu: http://192.168.0.100/info.php)
 Dupa cum puteti vedea PHP5 functioneaza prin Apache2 Handler, acest lucru ne este aratat de rubrica Server API. Facand scroll pe aceasta pagina puteti observa modulele activate in PHP5 iar MySQL nu se numara printre acestea ceea ce inseamna ca nu avem inca suport pentru serverul MySQL in PHP5.
E. Obtinerea suportului MySQL in PHP5:
Pentru a obtine suport MySQL in PHP5 putem instala pachetul php-mysql. Puteti instala si alte module PHP5 deoarece va vor folosii la diverse aplicatii. Cautati dupa module PHP5 asa:
yum search php
Alegeti modulele de care aveti nevoie dupa care instalati-le asa:
yum install php-mysql php-gd php-imap php-ldap php-odbc php-pear php-xml php-xmlrpc
Acum restartati Apache2
/etc/init.d/httpd restart
Reincarcati pagina http://192.168.0.100/info.php din browser si faceti scroll pe pagina, acum veti gasi toate modulele instalate inclusiv MySQL.
F. phpMyAdmin
MyphpAdmin este o interfata web cu ajutorul careia va puteti administra baza de date MySQL.
In prima faza activati RPMforge repository pe sistemul CentOS deoarece phpMyAdmin nu este disponibil in lista oficiala CentOS 5.6.
Pentru sistemele x84 64:
wget http://packages.sw.be/rpmforge-release/rpmforge-release-0.5.2-2.el5.rf.x86_64.rpm
rpm -Uhv rpmforge-release-0.5.2-2.el5.rf.x86_64.rpm
Pentru sistemele i386:
wget http://packages.sw.be/rpmforge-release/rpmforge-release-0.5.2-2.el5.rf.i386.rpm
rpm -Uhv rpmforge-release-0.5.2-2.el5.rf.i386.rpm
phpMyAdmin poate fii instalat dupa cum urmeaza:
yum install phpmyadmin
Acum configuram phpMyAdmin. Schimbat configuratia serverului Apache astfel incat phpMyAdmin sa suporte conexiuni nu doar din reteaua locala (putem face asta prin comentarea liniei <Directory “/usr/share/phpmyadmin”>)
vi /etc/httpd/conf.d/phpmyadmin.conf
#

#  Web application to manage MySQL

#
#

#  Order Deny,Allow

#  Deny from all

#  Allow from 127.0.0.1

#
Alias /phpmyadmin /usr/share/phpmyadmin

Alias /phpMyAdmin /usr/share/phpmyadmin

Alias /mysqladmin /usr/share/phpmyadmin
Acum trebuie sa schimbam modul in care se face autentificarea in phpMyAdmin din cookie in http:
vi /usr/share/phpmyadmin/config.inc.php
[...]

/* Authentication type */

$cfg['Servers'][$i]['auth_type'] = 'http';

[...]
Restartati Apache:
/etc/init.d/httpd restart
Acum puteti accesa phpMyAdmin la adresa http://192.168.0.100/phpmyadmin/:
Felicitari! Tocmai ai terminat de configurat serverul LAMP.
PS: in cazul in care doriti o masina special construita pentru a functiona ca server va rugam accesati categoria servere second hand. Daca doriti doar testarea acestor programe, puteti folosi un calculator obisnuit!


